Using VR controllers and locomotion in THREE.js
Going places in VR
In VR, with an advanced headset, one can explore a scene by walking in the real world. We’re often limited to the size of the room we’re in but the VR world can go on forever!
When you add a virtual method for moving around the scene, it lets users explore your VR scene even if their headset or their environment doesn’t allow them to walk around. This is sometimes called locomotion or teleportation.
In this example, I’ve used a guide line to show where the user is going to jump to:
In this post, I’ll go through how to:
-
add VR to our scene
-
testing without a headset
-
add Controllers
-
draw the navigation guide-line
-
respond to input
-
change the user’s position
-
animate the motion!
Adding VR to our scene
This article will be focused on THREE.js but some of the techniques should apply generally as well.
VR in THREE.js uses the WebXR device API. The WebXR device API is pretty well supported by browsers but if you want wider support you can include the polyfill to enable it in browsers which don’t have it yet.
If you have a 3D scene already prepared you can add the THREE.js VR button to allow the user to enter immersive-vr mode in the WebXR device API. We’ll use this guide to do that. It’s important to note that we have to update the animation loop to use the in built function rather than the browser’s request animation frame.
import { VRButton } from 'three/examples/jsm/webxr/VRButton.js';

...

document.body.appendChild( VRButton.createButton( renderer ) );

...

renderer.xr.enabled = true;
renderer.setAnimationLoop(function () {
    renderer.render( scene, camera );
});
Testing without a VR Headset
When building a VR application testing can be annoying. Needing to continuously put on and take off a VR headset is frustrating and slows down development. To overcome this I don’t immediately test my scene in a real device, I use my computer instead. There are 3 types of testing I do when building something:
-
Test it works in 2D on my computer
-
Test it works in an emulated headset on my computer
-
Test it works in a real headset
The first step, testing it in2D on my computer is just to make sure it works and nothing is glaringly wrong. It’s missing the same perspective and ways of interacting as a VR headset, fortunately emulating a headset can be done in the browser and is a good half way point to testing in a real headset with real controllers.
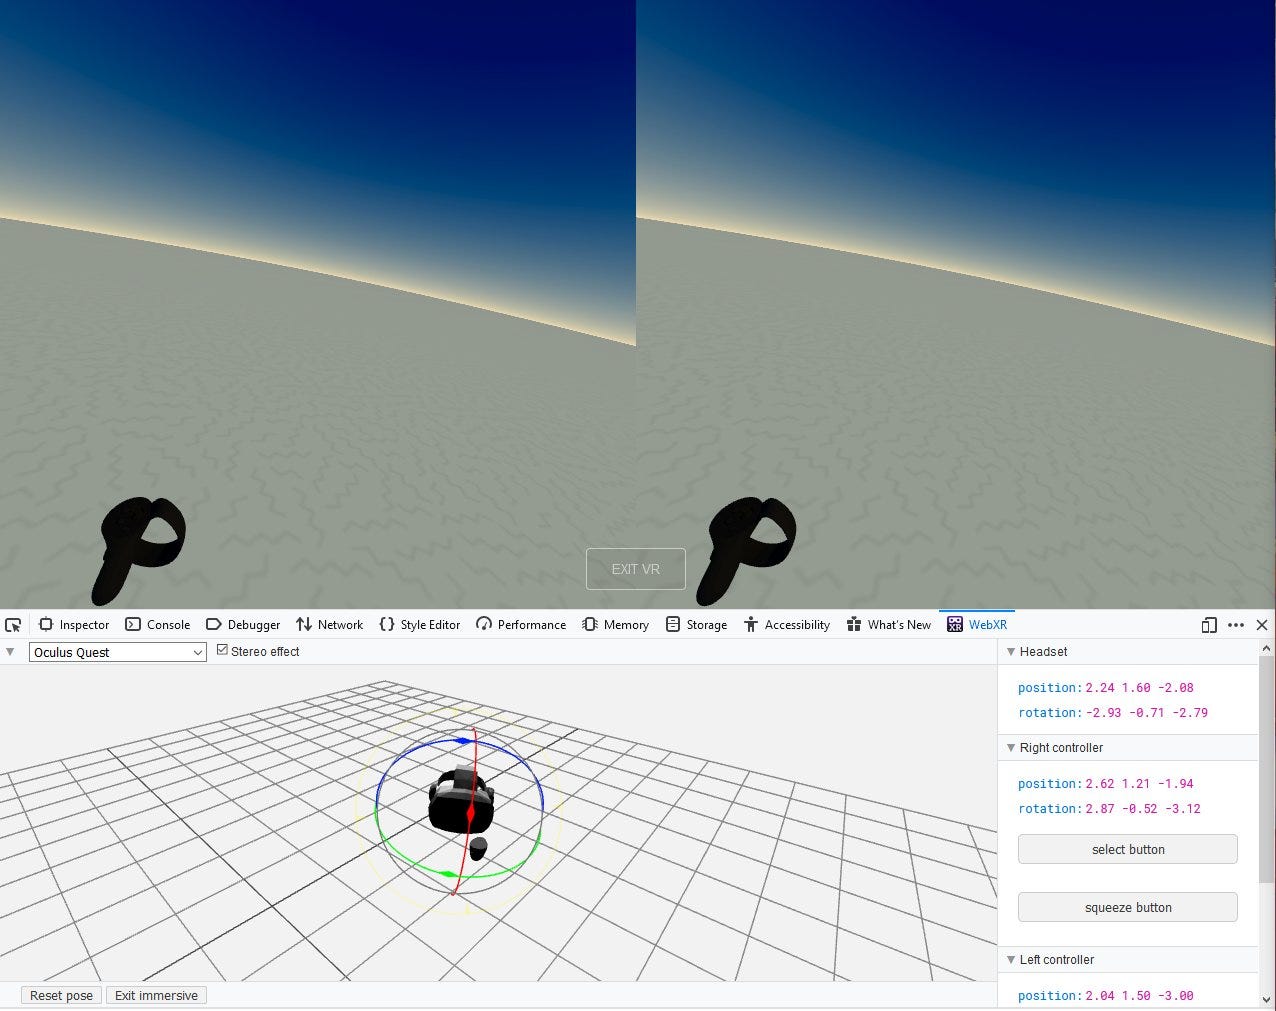
To do this I use the [WebXR emulator extension,](https://blog.mozvr.com/webxr-emulator-extension/) it was developed by Mozilla and is incredibly useful for quickly testing how it would work if controllers and a headset were present. WebXR emulator extension We are happy to announce the release of our WebXR emulator browser extension which helps WebXR content creation. We…blog.mozvr.com
This browser extension for Chrome and Firefox lets you test in emulated versions of a variety of popular headsets. With handles to move and rotate the emulated hardware. In the image below I show it being used to emulate the Oculus Quest.
The final step which is invaluable is real device testing. Once I think I am almost finished I put on my real Oculus Quest and test it in the Oculus Browser and Firefox Reality. This is where unexpected bugs can get found. There are plenty of things you only notice when you are actually in VR.
For example the Oculus Quest, which is equivalent to an android phone, is less powerful than my development computer. The expensive material I was using for the floor was making the scene lag causing the controllers to judder as I waved them around in the air.
I only noticed this by trying it out on real hardware. If you haven’t got a real VR headset to hand try using a cardboard VR headset, even though it does not have controllers you can see how it looks in VR and even today carboard VR headsets are the only way for many people to try out VR on the Web.
The cardboard headsets and WebXR go hand in hand because they are both widely available to anyone, so if you want to reach a wide demographic it’s important that what you build does something in these headsets even if it’s not the full experience.
Adding Controllers
XR controllers have two 3D spaces you can attach things to.
The first, the ‘controller’, is the space you would use for gesturing or pointing. Its z axis is where the controller points.
You get this space by using:
// Get the 1st controller
renderer.xr.getController(0);
The second is the grip space. This is the where you would put the model for whatever the user is holding in VR, such as a representation of the hardware in their hand or some virtual object like a magic wand.
// get the grip space of the first controller
renderer.xr.getControllerGrip(0);
These are both THREE.js Groups so you can add models to them as you would a normal 3D object. For example to add an object attaatched floating slightly above the user’s hand I would do:
*const* someObject = new Mesh( geometry, material );

someObject.position.set(0, 0.2, 0);

controller1.add( someObject );
The W3C Immersive Web Working Group maintains a library called WebXR Input Profiles, which is designed to let developers provide hardware appropriate 3D models where the buttons and joysticks move the same way as the real hardware.
This is in built into THREE.js in XRControllerModelFactory, so you can get this behaviour in only a few lines of code:
import { XRControllerModelFactory } from 'three/examples/jsm/webxr/XRControllerModelFactory.js';

...

*const* controllerGrip1 = renderer.xr.getControllerGrip(0);

*const* model1 = controllerModelFactory
  .createControllerModel( controllerGrip1 );

controllerGrip1.add( model1 );

scene.add( controllerGrip1 );
Drawing the navigation line
A simple way to do navigation would be having a straight line from the controller and teleporting where it points.
This isn’t ideal, you have to point the controller always down which gets uncomfortable, you can travel an unlimited distance by aiming at the horizon and it doesn’t feel natural.
This model imagines that the controller is throwing out a ball, and where the ball lands is where we teleport to. This is a very common method of VR locomotion you may have experienced if you’ve used a VR headset before.
To draw the line we need to create a line geometry:
*const* lineSegments=10;
*const* lineGeometry = new BufferGeometry();
*const* lineGeometryVertices = new Float32Array((lineSegments +1) * 3);

lineGeometryVertices.fill(0);

lineGeometry.setAttribute('position', new

BufferAttribute(lineGeometryVertices, 3));

*const* lineMaterial = new LineBasicMaterial({ color: 0x888888, blending: AdditiveBlending });

*const* guideline = new Line( lineGeometry, lineMaterial );
We’ve set all the corners on the line to zero for now because we do not know the shape of the line.
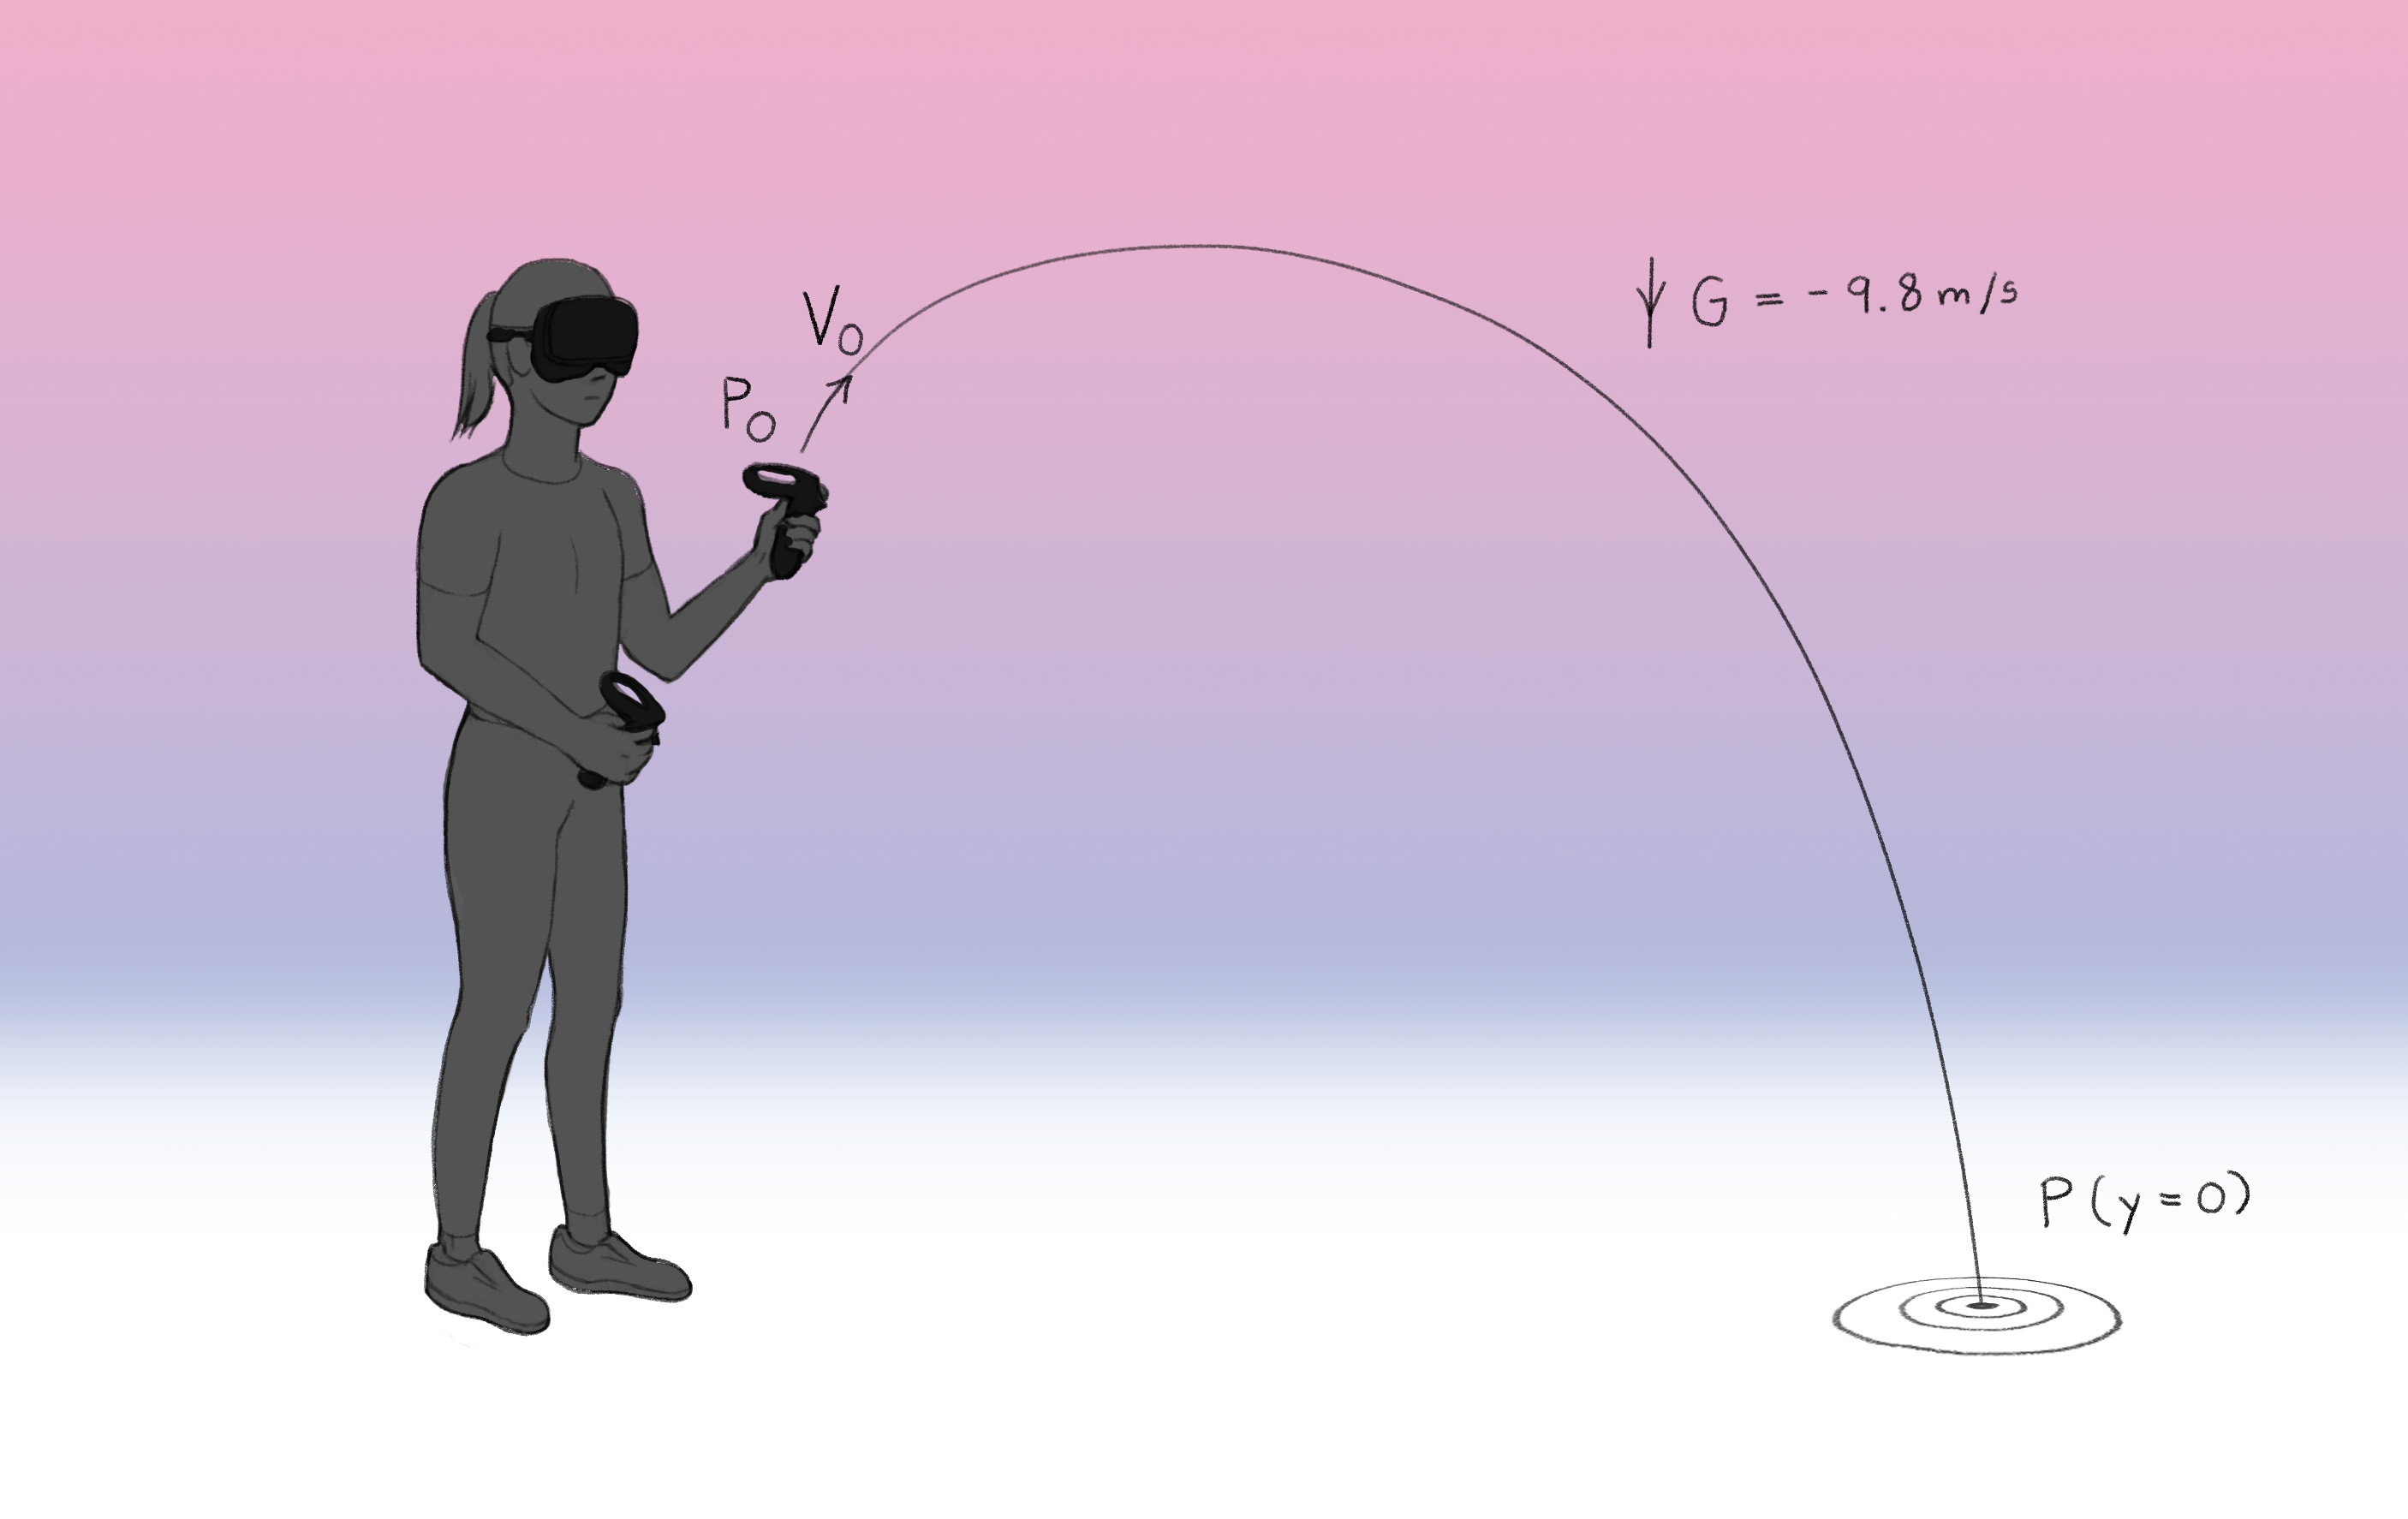
Next we have to do some math to work out where it hits the ground. We have a few things we know, we’re working under standard earth gravity which is -9.8m/s down, we also know the velocity and direction we’re launching the projectile and the starting point.
From this we know how the velocity moves over time is the initial velocity plus the gravity multiplied by time.
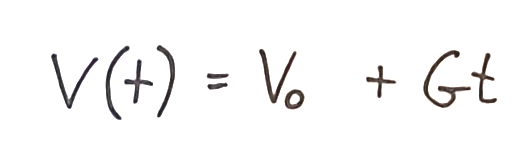 v(t) = v0 + Gt
To get position from velocity you can integrate it with respect to time, so we’ll do that next.
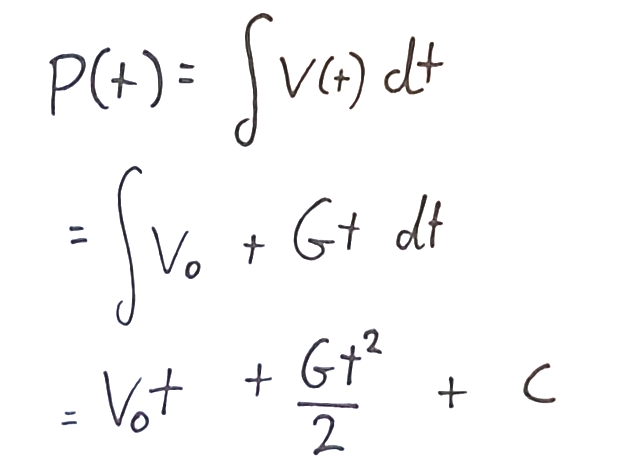 Integrating the previous equation
The remaining constant from the integration ( c ) in this case works out to be our starting position. So we get the equation for the position, which is a quadratic equation:
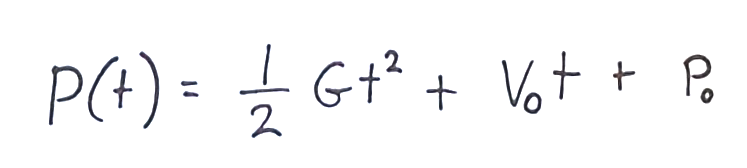 P(t) = 0.5 * Gt² + Vt + P
This equation is useful for getting the position at an arbitrary point in time. We can use this for drawing the arc.
In THREE.js vector terms that looks like this, the output gets written to the vector inVec for efficiency’s sake:
*function* positionAtT(*inVec*,*t*,*p*,*v*,*g*) {

  inVec.copy(p);
  inVec.addScaledVector(v,t);
  inVec.addScaledVector(g,0.5*t**2);
  return inVec;
}
We have 10 vertices in our line so will need to get the position of the ball at 10 points along that line until it hits the ground. To do that we need to work out the value of t when it does hit the ground.
To work out where the line stops we can solve the above equation in the y dimension for where y = 0;
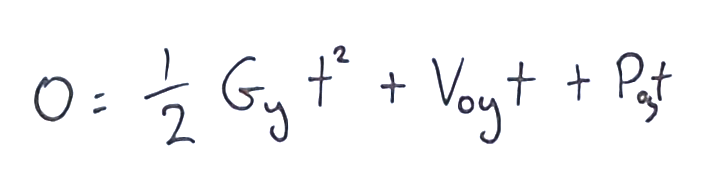 0 = 0.5 * Gt² + Vt + P
Fortunately the general solution to the quadratic equation is well-known, giving us:
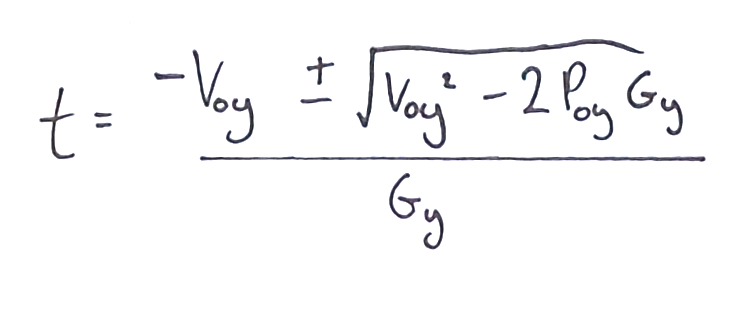
This will have two solutions: one in the future and one in the past. We are only interested in the future one so we can discard the other, which in JavaScript is:
// Controller start position
*const* p = guidingController.getWorldPosition(tempVecP);

// Set Vector V to the direction of the controller, at 1m/s
*const* v = guidingController.getWorldDirection(tempVecV);

// Scale the initial velocity to 6m/s
v.multiplyScalar(6);

*// Calculate t, this is the above equation written as JS
const* t = (-v.y  + Math.sqrt(v.y**2 - 2*p.y*g.y))/g.y;
We can now update each vertex in the line geometry with our new coordinates to draw it in 3D space. We do this every single frame so I put it in the rendering animation loop.
*const* vertex = tempVec.set(0,0,0);

for (*let* i=1; i<=lineSegments; i++) {

  // set vertex to current position of the virtual ball at time t
  positionAtT(vertex,i*t/lineSegments,p,v,g);

  // Copy it to the Array Buffer
  vertex.toArray(lineGeometryVertices,i*3);
}

guideline.geometry.attributes.position.needsUpdate = true;
We now have a droopy line which points out of our controller.
Responding to user inputs
We don’t always want to be showing the line — we only want to show it when the trigger is being pulled.
There are two ways to get user input in WebXR. The first is each WebXRInputSource has an associated gamepad object which behaves exactly like the Gamepad API. This is polling based so you have to check it each frame to see what buttons are being pressed. It’s difficult to use and different hardware maps the buttons and axes differently.
The better way of doing it is to use the select and the squeeze events on the session. These events respond to whatever the VR system would use for selecting and/or the available squeeze/grab button if one is available.
These events get exposed on the controller objects in THREE.js. You can listen for them like so:
*const* controller1 = renderer.xr.getController(0);

controller1.addEventListener('selectstart', onSelectStart);

controller1.addEventListener('selectend', onSelectEnd);
For our case, when the user clicks the button we should set our code to attach our guideline to that controller; otherwise it should hide the guideline.
Changing the user’s position
There are a few ways to change user’s position, such as using an offset reference space in the WebXR API itself. This is not the method we will use because it’s actually simpler to nest the camera and controllers in a group together and move that group around.
This means we have a range of 3D spaces relative to the user:
-
our scene : this is the virtual world space
-
cameraGroup is for things which should stay relative to the user such as interfaces
-
camera: this is for head locked items, the user will not be able to look at them or look away from them so use with caution.
By moving the camera group all items relative to the user such as the controllers or local menus move with them.
Teleporting in 3 steps:
-
The user selects a point to teleport
-
Work out the vector from the user’s **feet **to that point
-
Offset the cameraGroupposition by that vector
Note! the offset is from the user’s feet to the point, otherwise unless they remain exactly at center of the space they will drift with each teleport.
For a very simple teleport we can do something like this:
// feet position, which is the head position but on the ground
*const* feetPos = renderer.xr
  .getCamera(camera)
  .getWorldPosition(tempVec);
feetPos.y = 0;

// cursor position, same logic as earlier
*const* p = guidingController.getWorldPosition(tempVecP);
*const* v = guidingController.getWorldDirection(tempVecV);
v.multiplyScalar(6);
*const* t = (-v.y  + Math.sqrt(v.y**2 - 2*p.y*g.y))/g.y;
*const* cursorPos = positionAtT(tempVec1,t,p,v,g);

// Offset
*const* offset = cursorPos.addScaledVector(feetPos ,-1);
Animating Changes
**WARNING! **Test camera animations thoroughly as they may make users feel ill! If in doubt fall back to teleporting. Always give the user options to change to teleporting instead.
After a day of developing this (until I found something comfortable) I was left rather nauseous and had to go stare out the window with a cup of tea. (I would’ve gone outside but y’know quarantine.)
The animation we will do here is one which I have experienced in the Google Earth VR application. Your view of the world is restricted to a simple scene in your peripheral vision which is locked to the user’s space i.e. in the cameraGroup. Then the camera is moved and our full view is restored.
This works by changing the appearance that you are moving to instead the world moving around you. This gives a continual experience with less of a nauseating effect.
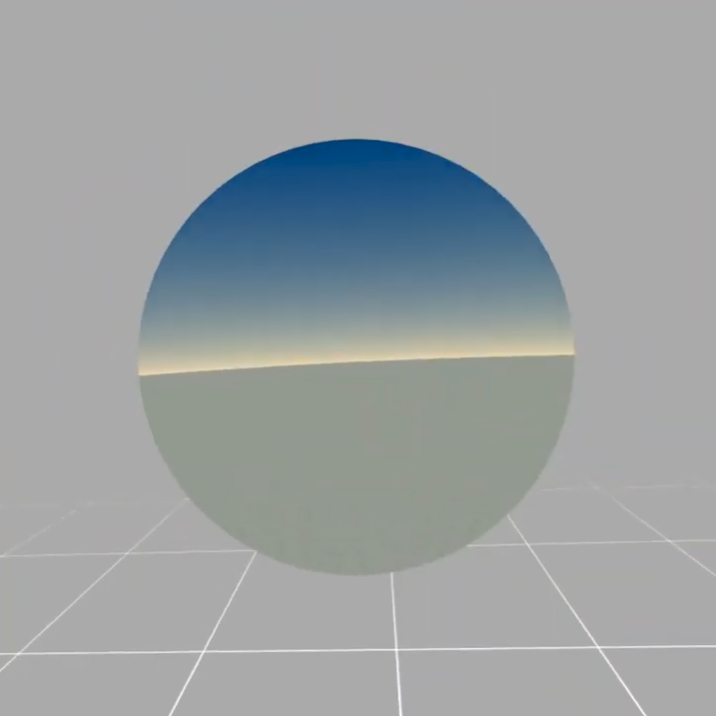 Static scene in our peripheral vision
This is how we make the environment: it’s a simple grid in a grey inside-out sphere. It’s nothing eye catching, it just needs to steady the user.
They both have a negative renderOrder and have depthWrite turned off and no transparency, so that they are rendered before anything else and do not cause artefacts on the rest of the scene.
We occlude the rest of the scene by having a sphere with the front removed placed over the user’s head, kind of like a diving helmet.
 A diving helmet.
We set the sphere’s material to have colorWrite: false so that even though it occludes the main scene nothing is drawn.
That way it ends up leaving a punch through to the environment beneath.
*const* gridTexture = new TextureLoader().load('./images/grid.png');
gridTexture.repeat.multiplyScalar(50);
gridTexture.wrapS = gridTexture.wrapT = RepeatWrapping;

*const* floor2 = new Mesh(
  new PlaneGeometry(50, 50, 50, 50),
  new MeshBasicMaterial({
    map: gridTexture,
    color: 0x555555,
    depthWrite: false,
    blending: AdditiveBlending
  })
);

floor2.rotation.x = -Math.PI / 2;
floor2.name = 'floor2';
cameraGroup.add(floor2);

*const* sky2geometry = new SphereGeometry(25, 50, 50, 0, 2 * Math.PI);
*const* sky2material = new MeshBasicMaterial({
  color: 0xaaaaaa,
  depthWrite: false
});

sky2material.side = BackSide;
*const* sky2sphere = new Mesh(sky2geometry, sky2material);
sky2sphere.name = 'sky2sphere';
cameraGroup.add(sky2sphere);


// The occluding sphere

*const* blinkerSphereGeometry = new SphereBufferGeometry(0.3, 64, 8, 0, Math.PI*2, 0, Math.PI * 0.85);
blinkerSphereGeometry.translate(0,0.3,0);

*const* blinkerSphereMaterial = new MeshBasicMaterial({
  side: BackSide,
  colorWrite: false
});

*const* blinkerSphere = new Mesh(
  blinkerSphereGeometry, blinkerSphereMaterial
);
blinkerSphere.rotation.set(Math.PI/2, 0, 0);
blinkerSphere.position.set(0, 0, -0.3);
blinkerSphere.visible = false;
camera.add(blinkerSphere);

blinkerSphereMaterial.renderOrder = -101;
floor2.renderOrder = -102;
sky2sphere.renderOrder = -103;
Then to do the animation we split it into 3 distinct steps to reduce discomfort:
-
animate the sphere so that it shrinks into view
-
animate the position of the cameraGroup
-
animate the sphere growing until it is no longer visible
To do the animations we use the popular tween.js library.
*const* newPos = new Vector3();
newPos.copy(cameraGroup.position);
newPos.add(offset);
*const* dist = offset.length();

blinkerSphere.visible = true;
blinkerSphere.scale.set(2.5,2.5,2.5);

new TWEEN.Tween(blinkerSphere.scale)
.to({x:1,y:1,z:1}, 400)
.easing(TWEEN.Easing.Quadratic.Out)
.start();

new TWEEN.Tween(cameraGroup.position)
.delay(400)
.to(newPos, dist*120)
.chain(
  new TWEEN.Tween(blinkerSphere.scale)
  .to({x:2.5,y:2.5,z:2.5}, 100)
  .onComplete(() *=>* blinkerSphere.visible = false)
).start();
This completes the effect — you can view the source code for this demo on GitHub and try it out below. Feel free to fork and make your own. XR Garden Edit descriptionsamsunginter.net
Here is a video of the completed effect:
Thank you so much for reading, hope this helps you add locomotion to your own VR experiences in the Web.
By Ada Rose Cannon on May 18, 2020.